Accessorize Your Quarantine Look

I’m not sure about you, but my wardrobe hasn’t been too exciting lately. I’m still working from home which means sitting at my computer all day long. I have so many pretty work appropriate dresses just sitting in my closet, but I can’t bring myself to wear them right now. I know, some fashion blogger I am. But the one thing that I have been embracing during this quarantine time at home are accessories.

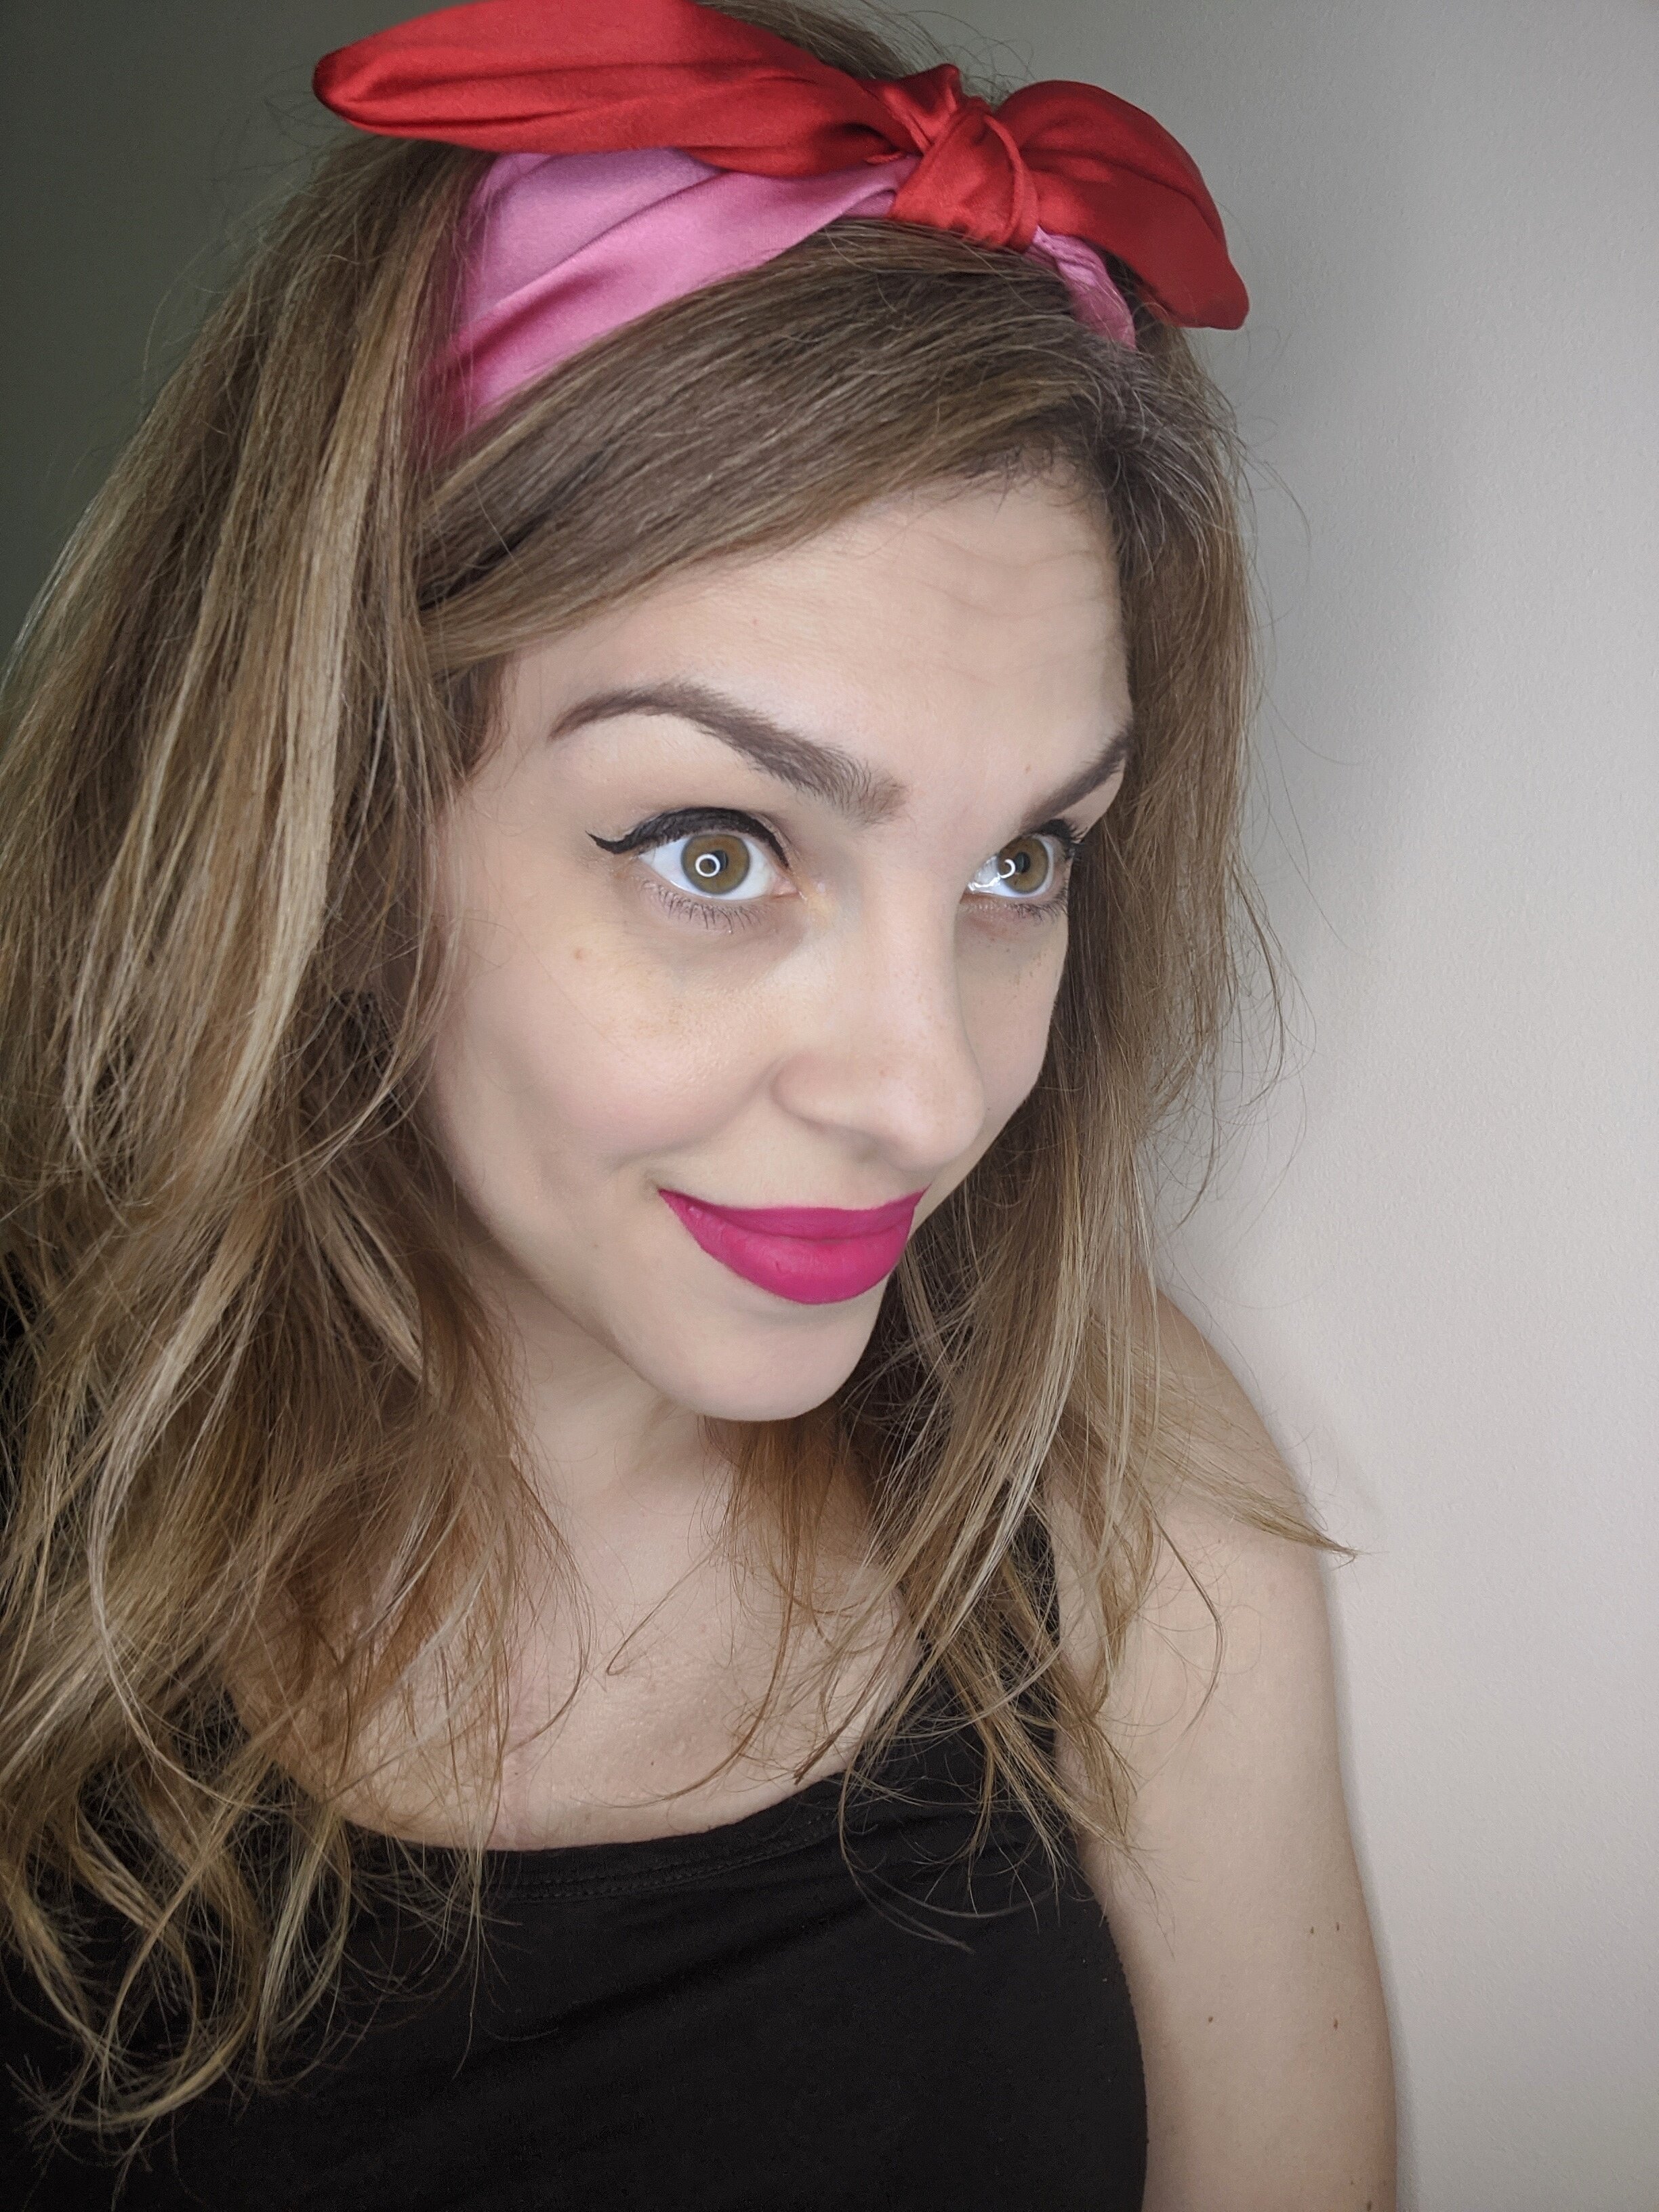
satin headband- J.Crew

satin headband- J.Crew

I have been wearing bold lips, earrings (I even opened up some semi-closed earring holes as a quarantine project), and headbands. I think headbands are the easiest thing you can throw on to jazz up any look.

jcrew headband2.jpeg

This satin headband I just picked up from J.Crew is so adorable. Not only is it my favorite color combo (red and pink!), but the bow can bend and move. How fun is that!?!? So the next time you are dressed down (errr…tomorrow?) and your hair is a mess try throwing on a cute headband instead of putting your hair up in a ponytail. It will definitely elevate your style!

On Trend: Headbands

I’ve always loved headbands. I am a child of the ‘80s after all. Growing up the ‘80s and ‘90s headbands were a part of my every day wardrobe. I had an entire drawer in my dresser devoted to them. So you would understand how happy I am to see that these adorable accessories are back with a serious bang!

Multi-color sparkle headband- Zara

Multi-color sparkle headband- Zara

Black velvet headband- Zara

Black velvet headband- Zara

What are your thoughts on this hair accessory trend? Are you loving it…or are you so over it?

My Experience Going Blonde

Today I finally bit the bullet and had my hair colored blonde! I have been wanting to do this for some time now, but I never had the nerve to go through with it. In the past I wimped out and just did highlights or an ombre (both looks that I loved), but I was now ready to fully commit. My gray/white/clear hair has been growing in so fast that at week three or four between colorings it is so noticeable was really what made me go for it. I'm hoping having lighter hair color will make these hairs less obvious.

before.jpg

This was me all smile beforehand. I was actually so excited and nervous I thought I was going to throw up...

step 1 to blonde.jpg

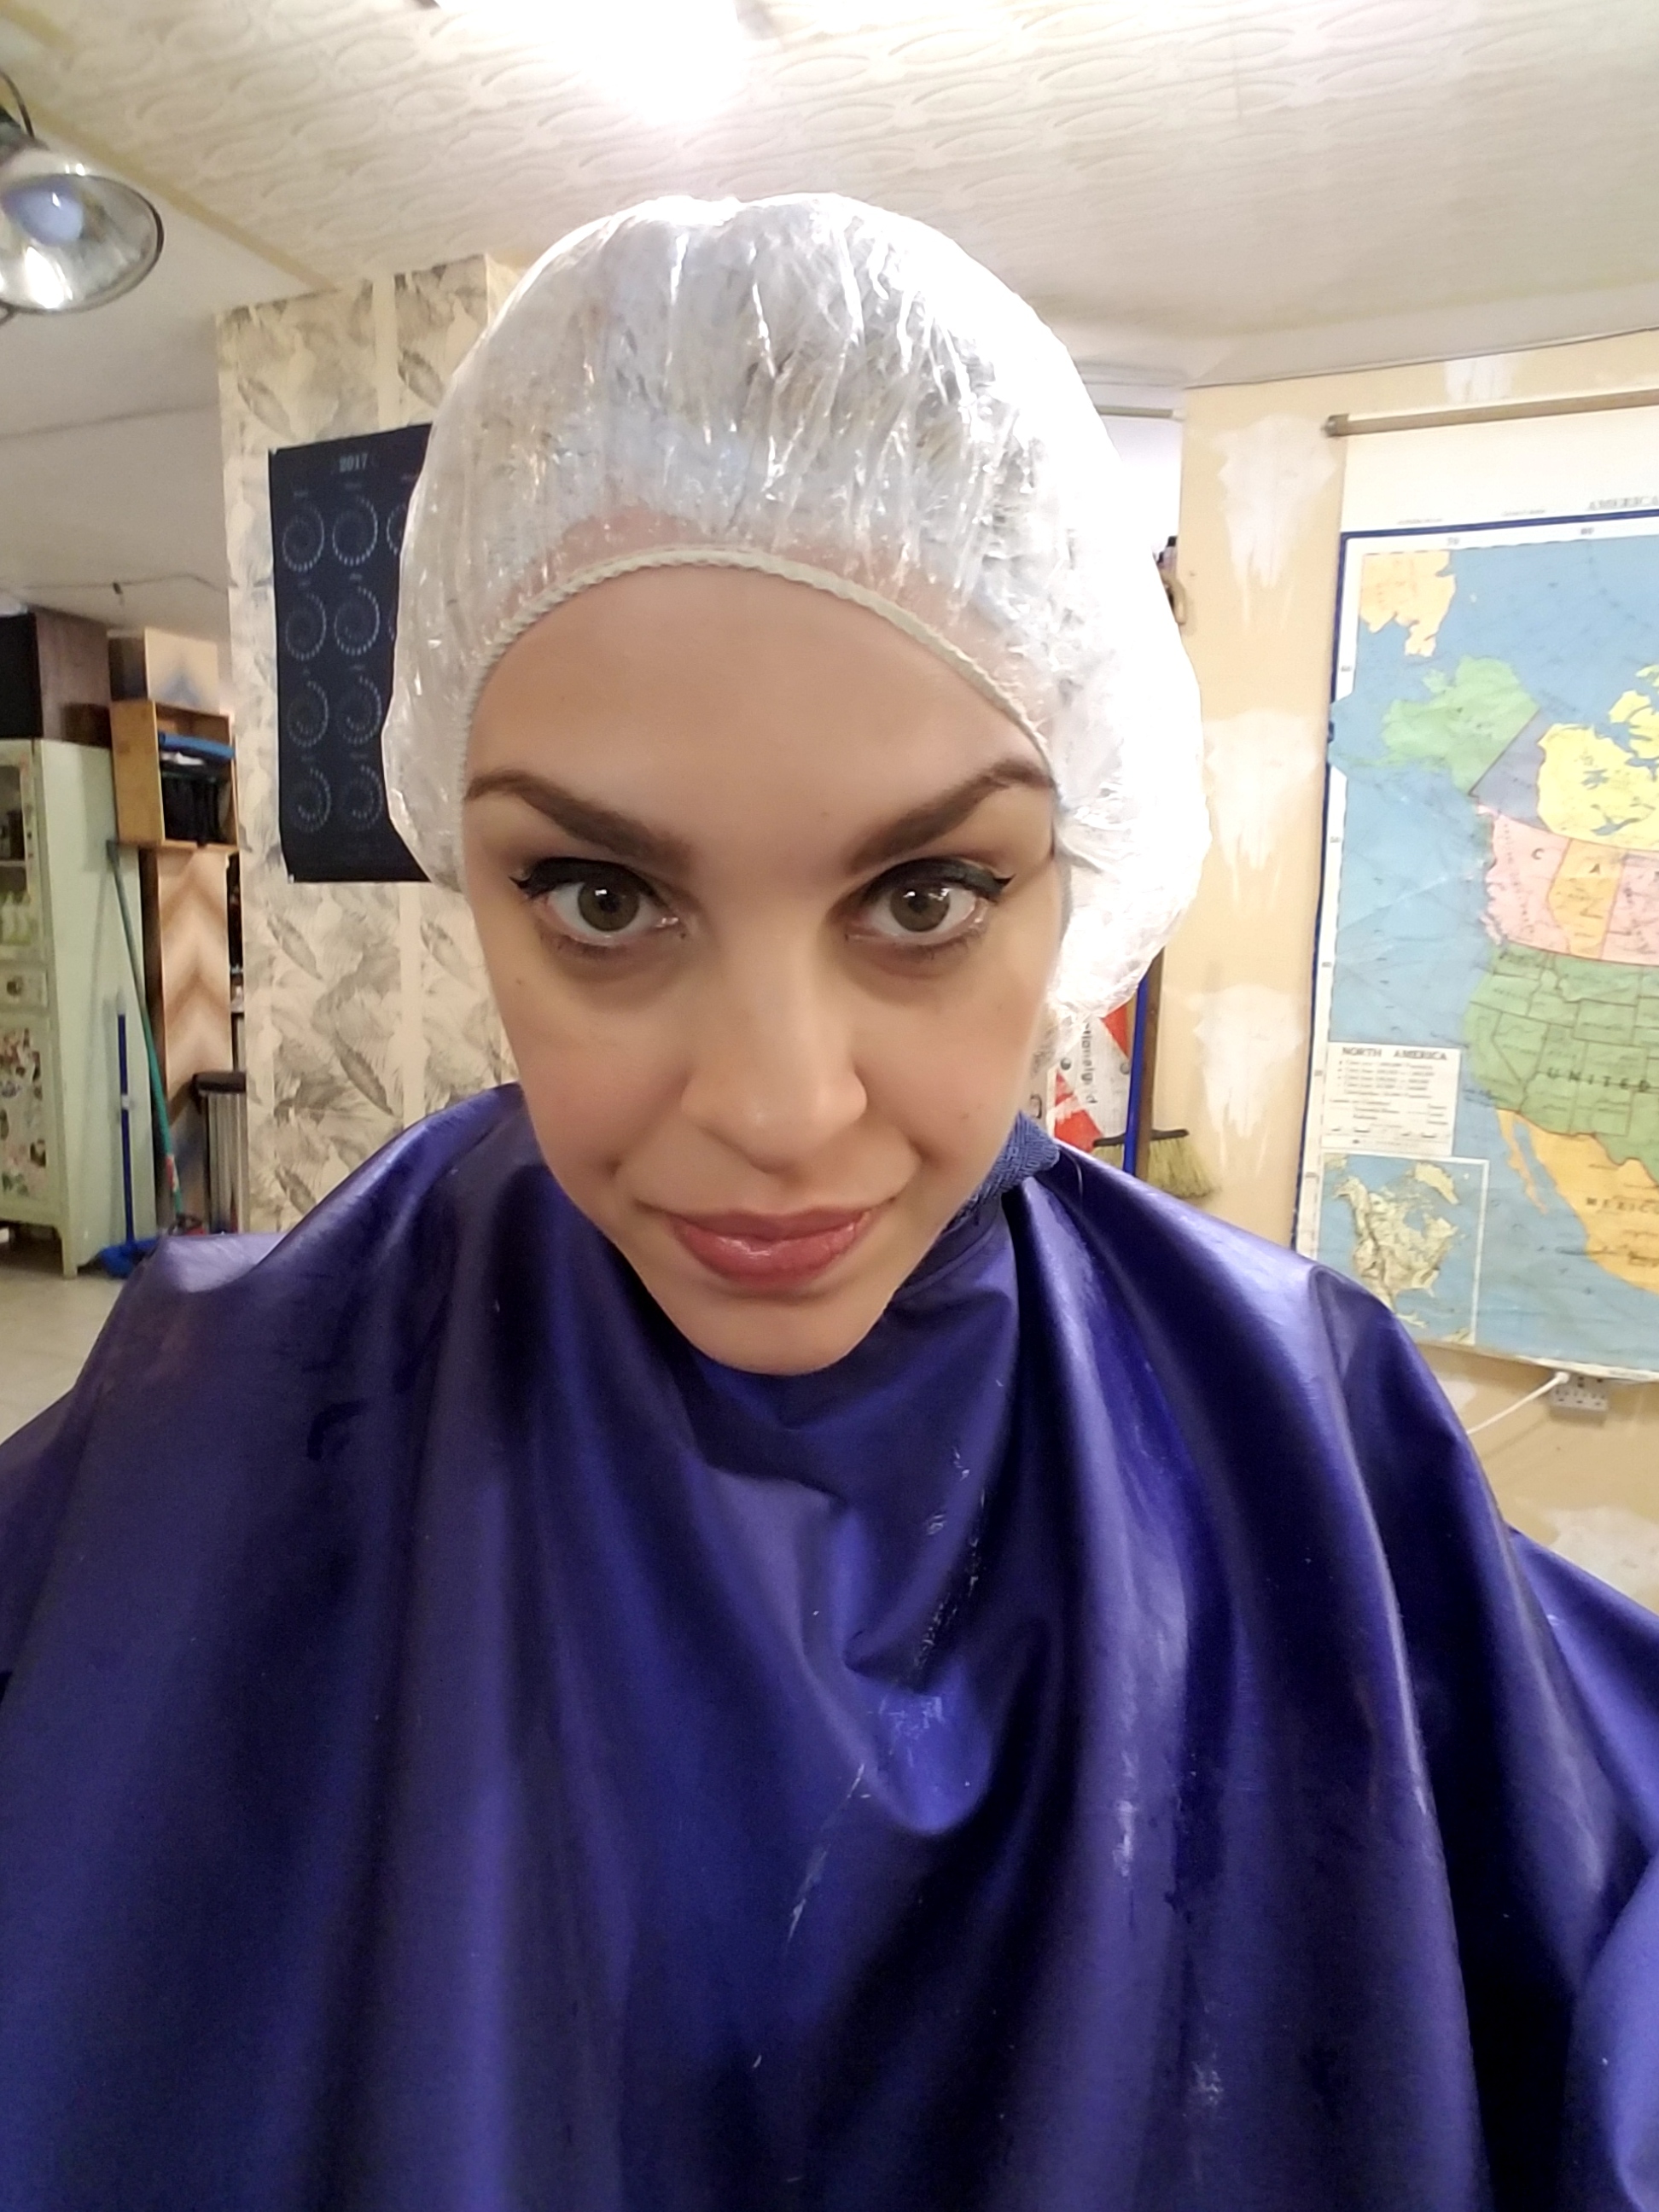
The first treatment Martha Ellen from Headchop put on my hair was an ammonia free color out system. This made the bleaching process much more gentle on my hair. This went on my hair with a cap and was left on for about 20 minutes or so. She then shampooed it three times and then rinsed it for 10 minutes. The above photo is what my hair ended up looking like afterward that first process was done.

Now we moved on to bleach. She first bleached the middle portion on the hair, then the ends, and then the roots last.

My head was getting toasty warm under those foils.

Looking like I should be in a sci-fi movie...

step 2 to blonde- 4.jpg

As you can see in the image above she put a cap on me and I sat there for what felt like forever. My scalp didn't burn at all for a while (just tingled). I was really worried about how painful this might be. However, I did prep my hair by not washing it for days (I hadn't washed it since Tuesday) as I was told that the oils would protect my hair during this bleaching process. It did start to burn at the last few minutes before it was washed out.

step 3 to blonde- 1.jpg

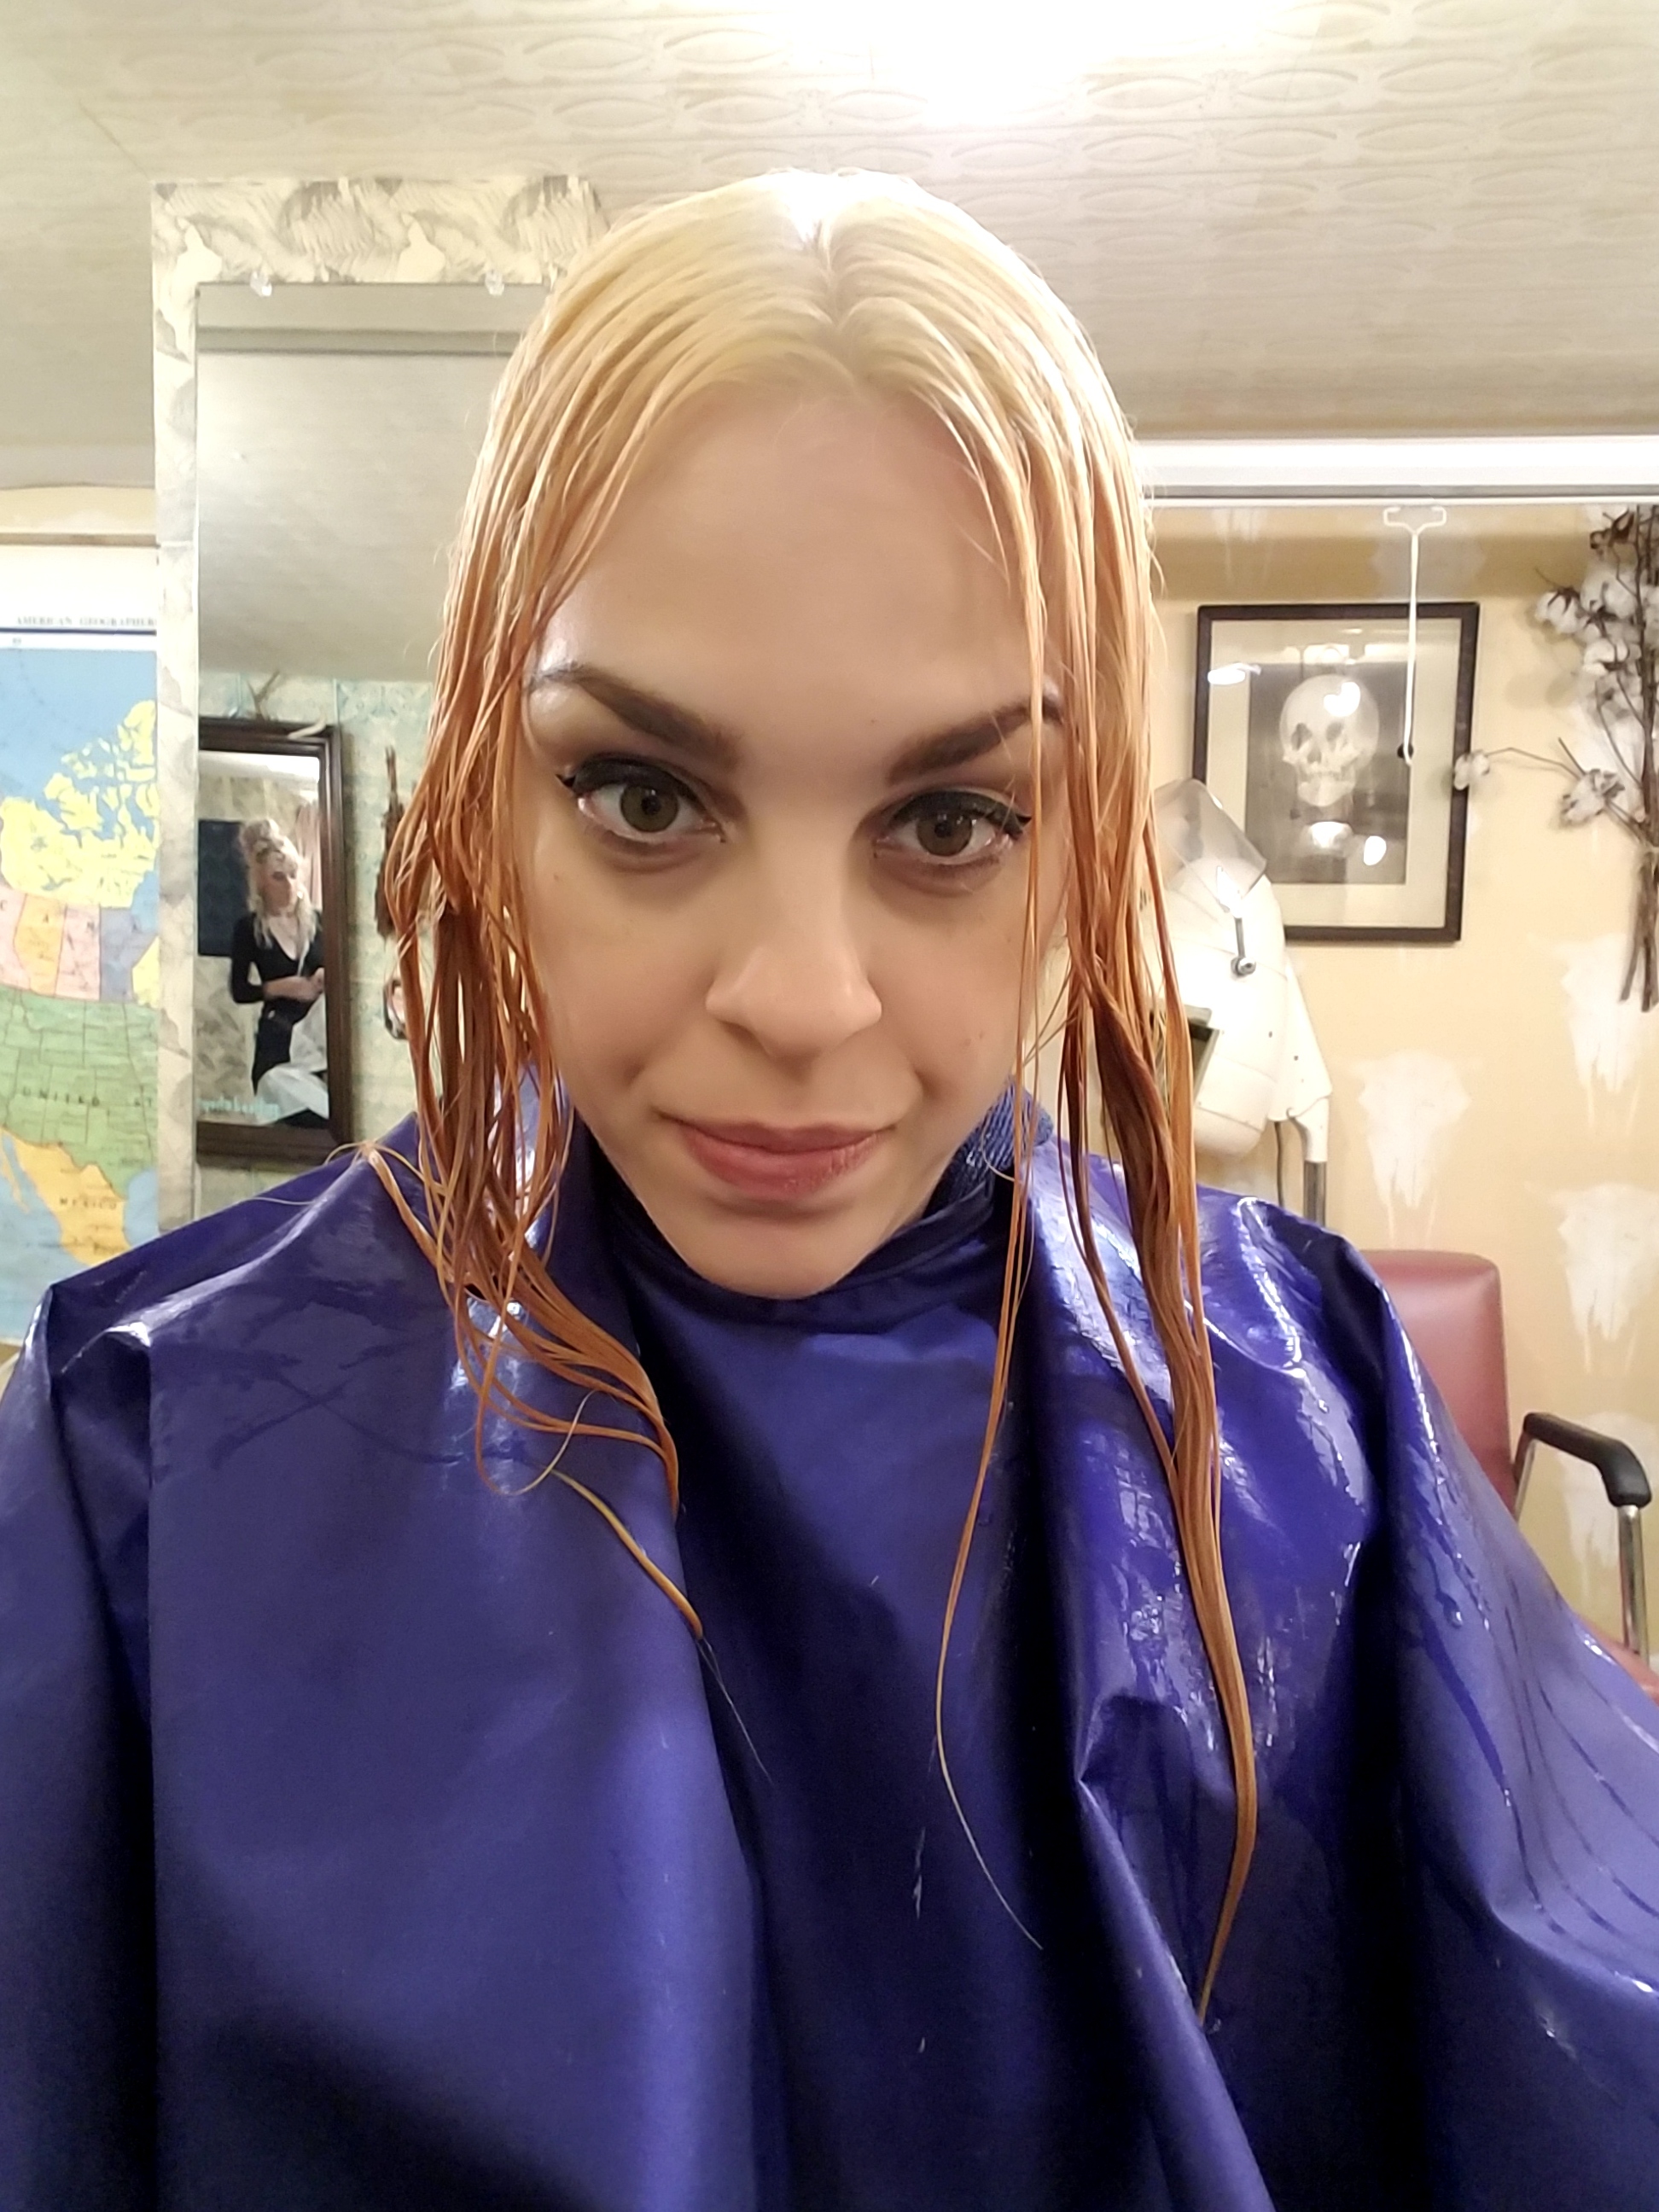
After the bleach was washed out I was told that I was going to sit in front of the mirror and not to panic at the color because this is not going to be the end result. I mean do you see in the image above just how crazy it looked?!?! Eeeeekkkkkk!!!!

step 3 to blonde- 2.jpg

Next the toner was added. I let that sit for a while and then that was washed out and my hair was styled.

after1.jpg

The entire process took almost six hours! But I ended up with this beautiful dark golden (almost strawberry) blonde color. 

after2.jpg

I go back in May to get my roots touched up and we might add in some lighter pieces and fine tune the overall look. 

after3.jpg

What do you think of my blonde look???

Be sure to stop by my Insta Story to see some videos Martha Ellen did that explain what she was doing to my hair.

Tips for the Perfect Curls

I never used to curl my hair. Ever. Any time I tried this look the curls would not last. I would think that my hair type just wouldn't work with curls. What I didn't realize is that I was going about getting this look all wrong. It took many years, lots of trial and error, and some good products to get my locks where they are today. I thought I'd help save you all the hassle I went through and just give you my secrets to bouncy curls.

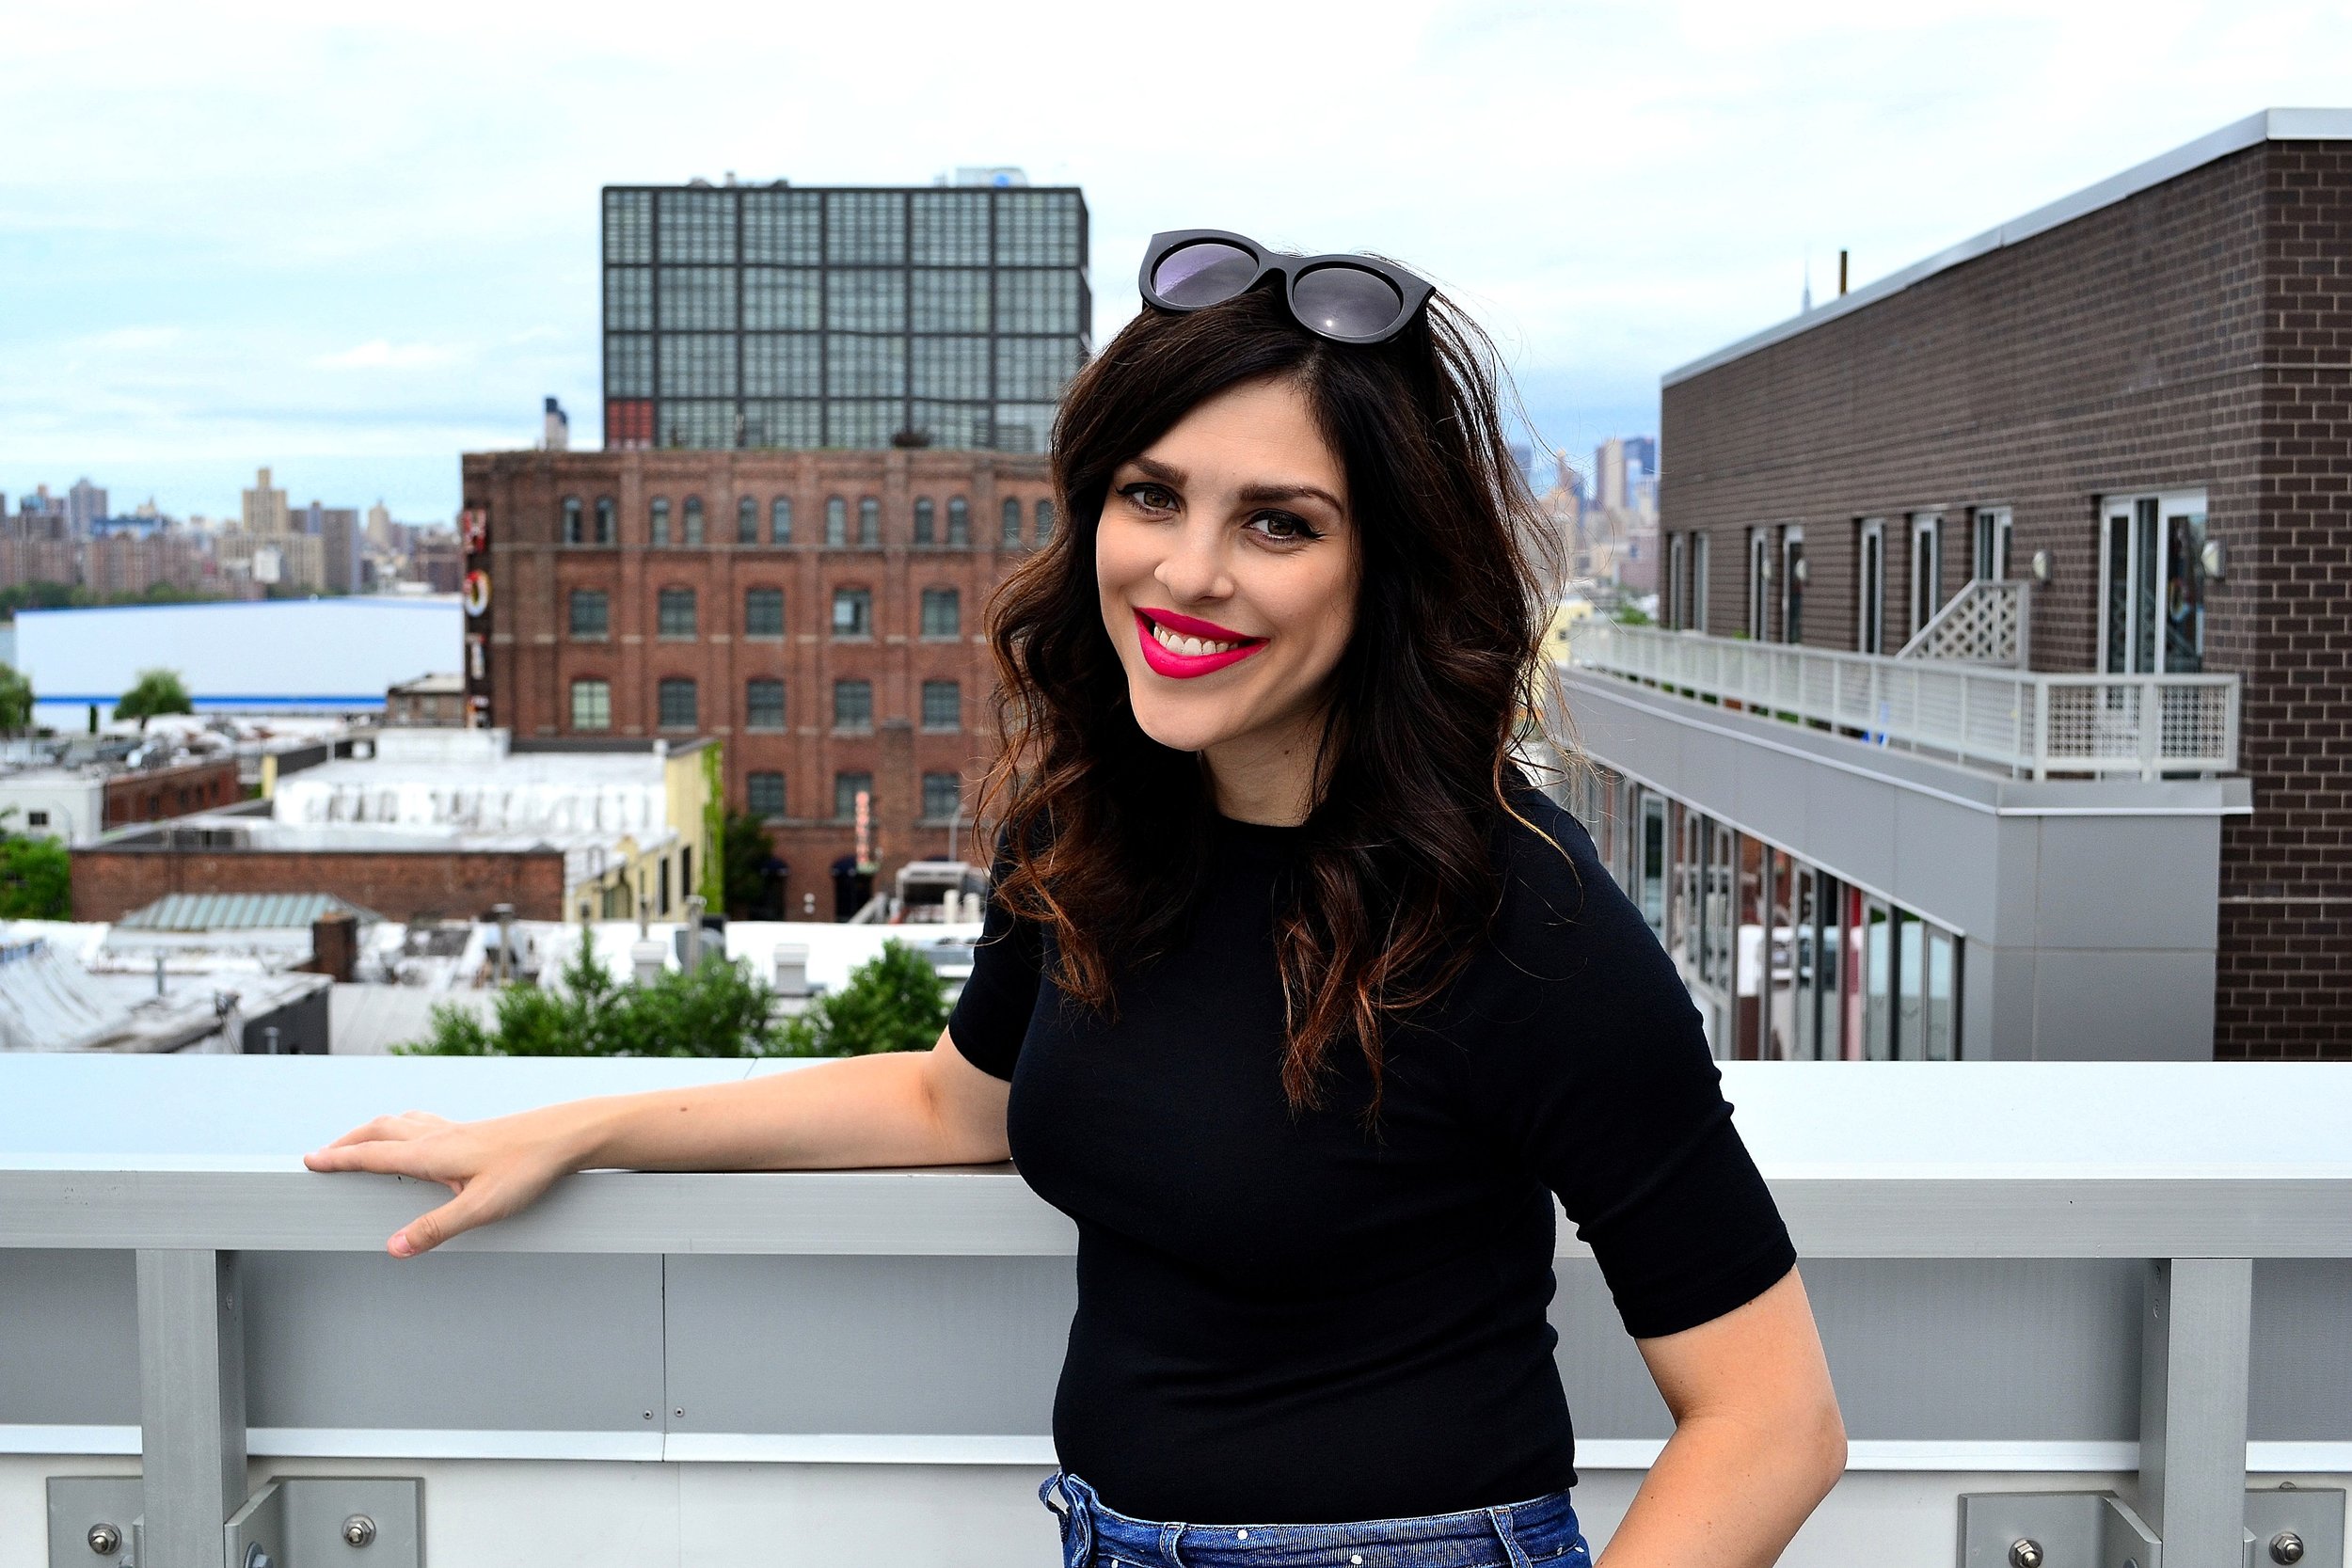
Gap tee Boden denim1.JPG
curls and red lips beauty shot.jpg

1) Start with dirty hair. Yes, dirty hair is a must! I find that when I try to curl freshly washed hair the curls just do not hold. Save your curls for hair that is two or three days after it has been washed.

2) Add in proper products. I always make sure to add in a heat protective spray and either some coconut oil spray or keratin oil spray. This helps your strands stay strong through the heat and keeps them full of shine.

3) Use a curling wand. Toss those curling irons away! Wands are where it's at! Not sure what the difference is? A curling iron has a clamp that can make your curls look like those worn by Shirley Temple. A wand is clamp-free and gives you loose curls which look much more natural. I tend to use a 1" or 1.25" wand. Obviously the larger the barrel the looser the curl.

4) Use a good hairspray. In my mind this is the most important step. You obviously want a hairspray that will hold your style, but you don't want your hair being crunchy either. I have my go to (if you want to know, shoot me a DM via Instagram), but would love to know if you have a favorite hairspray.

I hope these four simple steps help you with getting the best curls of your life!